In light of the overwhelming response to my first post, I feel compelled to give a bit of a tutorial on the big felt flower and the rolled fabric flowers on my wreath. This, of course, is all a big untruth, except for the part about giving you a tutorial. Ready or not.
This flower only takes one sheet of felt, however, you may want to use different colors. For the flower on my wreath, I used one sheet of purple, but for this one, I used a few different colors. This project was a joint effort with my bestie Jamie and myself (hence the two different hands pictured).#1: Cut a three inch circle and a two inch circle. I use highly sophisticated methods to do this...it usually includes wandering around my house (or Jamie's in this case) measuring circular things to find one that's close to the right size.

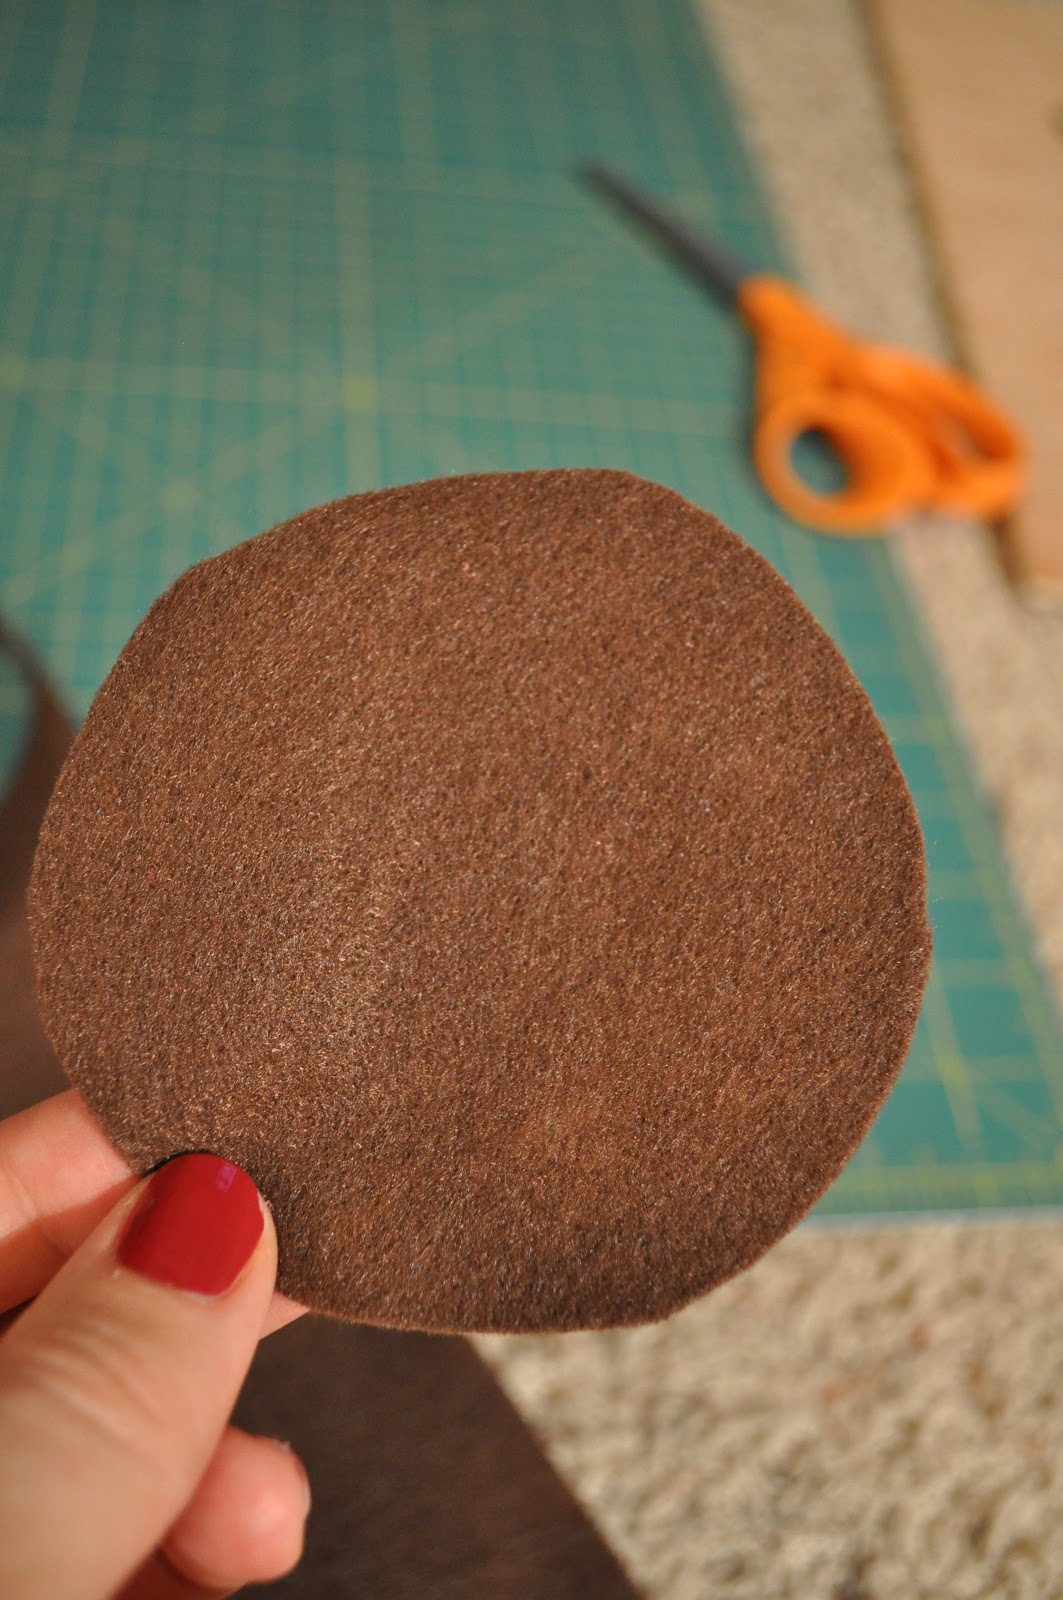
#2: Cut a two inch circle out of thin cardboard (like a cereal box). Glue the larger felt circle to the cardboard, then glue the smaller circle onto the back.


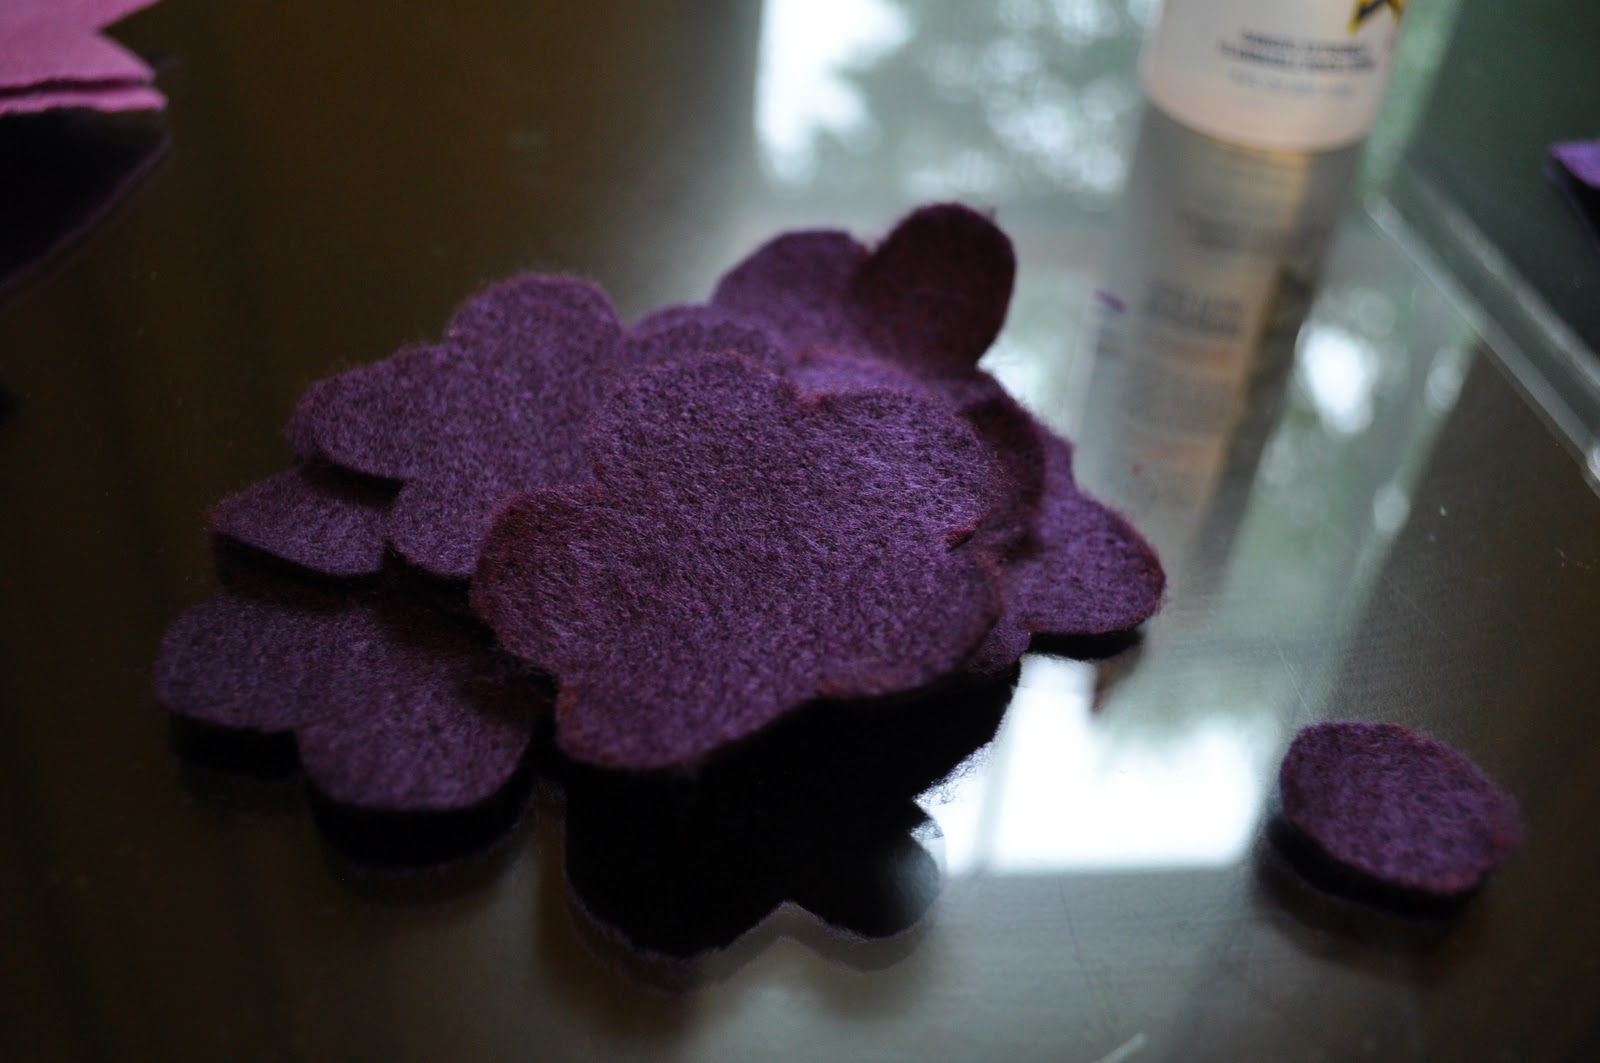
#4: Cut each strip into equals squares (1.5", 1.25" and 1" respectively). Cut each of your squares roughly into a petal shape...this does not need to be perfect AT all. Also, if you're doing it right, your hand should be sore and cramping up by the time you're done cutting all those stinking petals.


#5: Dab a dot of glue on both corners of the bottom of the petals then fold them toward the middle. Clip a clothespin onto the end to keep things in place until dry. If THIS stage of the game is performed accurately, you will have more glue on your fingers than on all the petals combined.


#6: Once your petals have dried sufficiently, start gluing them on your felt round. Squish them nice and close together. You won't use every one of the petals that you slaved over. Sorry about that.


#9: When you get to the middle, there should be about a half inch circle left. Take some pinking shears if you have them (otherwise just use scissors) to cut a thin, 6-8" strip. Wind it up nice and tight and glue it in the middle of your flower. Tada! Kind of a long process, but pretty mindless...watch a good movie or something...


 Okay. This is a long post. Phew. I considered making this next part a different post, but it's super quick. I promise. Here's the rolled fabric flower.
#1: Cut a strip roughly an inch wide and as long as you like. The longer it is, the bigger the flower.


#3: Start wrapping and twisting! Again...does not have to be perfect. As you go, every once in a while put a drop of glue to keep things together. If you are making a bigger flower, you may want to put it on a solid surface and wrap it that way - just to keep it together. Also, if the finished product is pretty big, you may want to glue the whole thing onto a circular piece of felt.


#4: At the end, put a glop of glue on your fabric and wrap it around the back side of the flower. Done and done.


These are so quick and easy. They're kind of addicting as well...so I hope you have a lot of surfaces that need to be flowered!