My latest? A tree skirt, of course! My plain-o green skirt from Wal-Mart simply won't do (even though it will be completely covered by presents). Pinterest boasts beautiful, home-made tree skirts around every corner...and I caved.
This was an almost free project for me since I already had aforementioned tree skirt and some fabric - a brand new white curtain from Ikea that my dog mangled before I could ever hang it up. I just cut around the less than desireable parts and had more than enough fabric for my newest time-wasting, but holiday-cheer-inducing project. (Do you like the way I just glossed right over the dog mangling part? It's like I didn't even get furious and cry and beat my head against the coffee table wondering why we ever got a dog...why our dog would purposefully ruin my life...)
Here's what we started out with.
Looks like it's seen better days. And I'm pretty sure it started out ugly, but I know for a fact it was cheeeeap.
Next step, have your friend cut out lots of three inch strips of fabric. If you don't have a friend willing to do this....I'm sorry. You can't have mine. Then who would cut my fabric? Jamie is amazing. And she made a tree skirt as well...check it out.
If you don't happen to have a pair of dog-eaten white curtains handy, you'll need about four yards of fabric. The lighter-weight the fabric, the easier it is to glue. I suppose you could make the strips wider and do fewer of them, but I did three inch strips...the longer the better (for less starting and stopping during the glueing process).
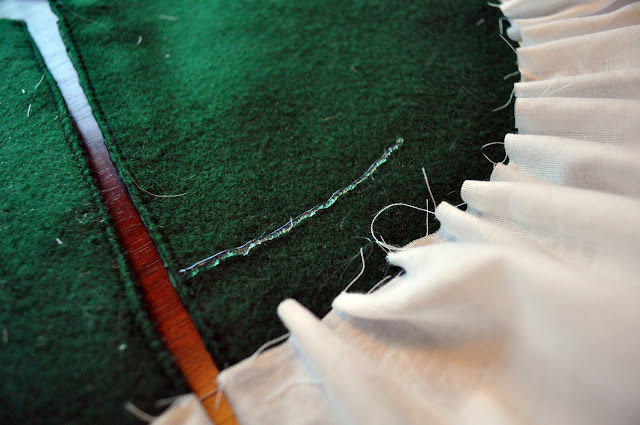
Next, start glueing! I started about an inch from the edge of my tree skirt, buuut I later decided to add some tan-ish muslin fabric to my skirt, so I made another layer about a quarter of an inch from the edge. Anyhoo, just lay down a line of glue, and start pinching the fabric together to make a ruffle. The bigger your ruffles, the longer it will take and the more fabric you will use.
Apparently I could not be bothered to brush off my filthy tree skirt....
At the ends, just wrap your fabric around the back and glue.
Once you're made it all the way around (which will seem like forever), start on your next row...you'll get faster!
I kept all my rows about an inch apart.
About half way through I stopped. Bad idea. It took me a full week to get back into it. I moved it to the table...which proved to be much easier on the ol' back, and kept plugging away. I ended up adding that first row of muslin (I figured it would hide dirt a little better) then I added a row of muslin after every fourth row of white. Kinda randomly chose than number, but it ended up working perfectly.

When I finally finished it, I flipped it over and glued three sets of 12" ribbon on to the back to close it.
Flipped it back over, and shazaam! Done!
You can see it in her eyes...I ordered her to lay down in front of the tree and be cute.
So what do you think? Had any Pinterest-inspired projects lately? Or perhaps I should ask...any projects that you actually came up with your own brain power? Kudos to you. I think a brain surgeon would find a big ol' red and white "P" in my noggin these days.


